Understanding that photobiomodulation recharges your cellular mitochondria is only the first step. The true power of biohacking lies in execution. Having a clinical-grade red light panel in your home is useless if you do not understand the geometry of light, the timing of your circadian rhythm, and the exact dosage your body requires.
To transition from a beginner to a bio-optimized practitioner, you must implement a frictionless daily protocol. Here is exactly how to build a red light therapy routine at home to maximize ATP production, accelerate muscle recovery, and decelerate your biological age.
1. Timing Your Light: Morning vs. Evening Protocols
Light is the primary signaling mechanism for your brain’s internal clock. The time of day you expose yourself to red and near-infrared (NIR) light dictates the biological outcome.
- The Morning Primer (Energy & Focus): Using your panel within the first hour of waking simulates the natural frequencies of a sunrise. A 10-minute session combined with your AI-optimized morning routine halts melatonin production, signals your cortisol to peak naturally, and floods your brain with the ATP energy required for deep cognitive work.
- The Evening Wind-Down (Recovery & Repair): Unlike the artificial blue light from your screens, red light does not suppress melatonin. A 15-minute session before bed acts as a powerful anti-inflammatory trigger. It relaxes the nervous system, promotes vasodilation, and perfectly sets the stage for the deep sleep architecture necessary for DNA repair.
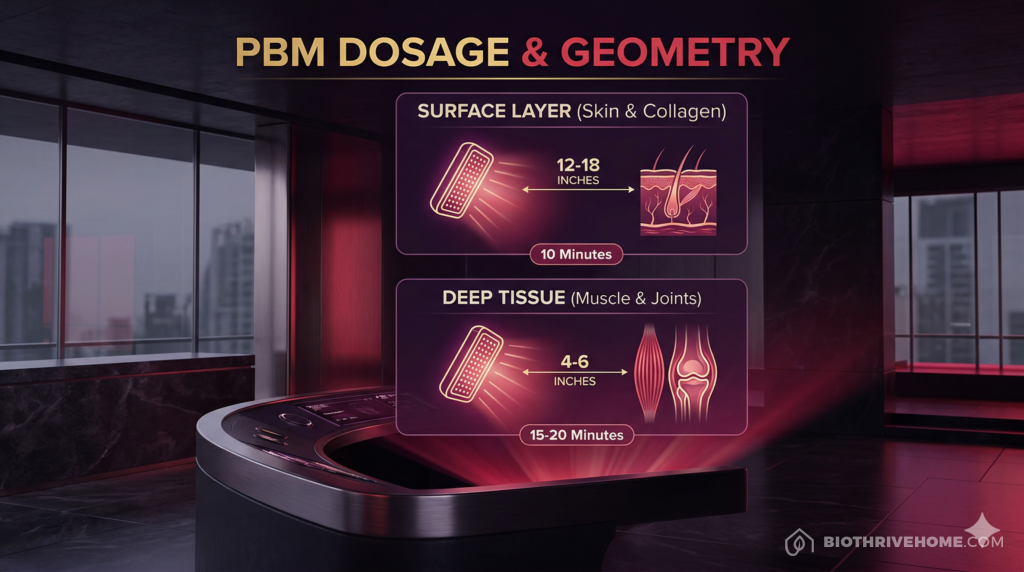
2. The Geometry of Healing: Distance and Dosage
In the world of photobiomodulation, proximity equals power. The concept of “irradiance” dictates how much light energy actually penetrates your skin. You must adjust your distance based on your specific longevity goal.
- Surface Level (Collagen & Skin Health): If your goal is to boost collagen production, reduce wrinkles, and heal topical inflammation, you want to use the 660nm (Red) wavelength. Stand roughly 12 to 18 inches away from the panel for 10 minutes. This allows the light to cover a wider surface area of your body.
- Deep Tissue (Joints & Muscle Recovery): If you are recovering from a heavy workout or targeting joint pain, you need the 850nm (Near-Infrared) wavelength to penetrate deep into the muscle tissue and bone. Move closer to the panel, standing 4 to 6 inches away, and expose the targeted area for 15 to 20 minutes to ensure maximum cellular absorption.
3. Stacking the Bio-Hacks: The Multiplier Effect
The most successful high-performance individuals do not isolate their protocols; they “stack” them.
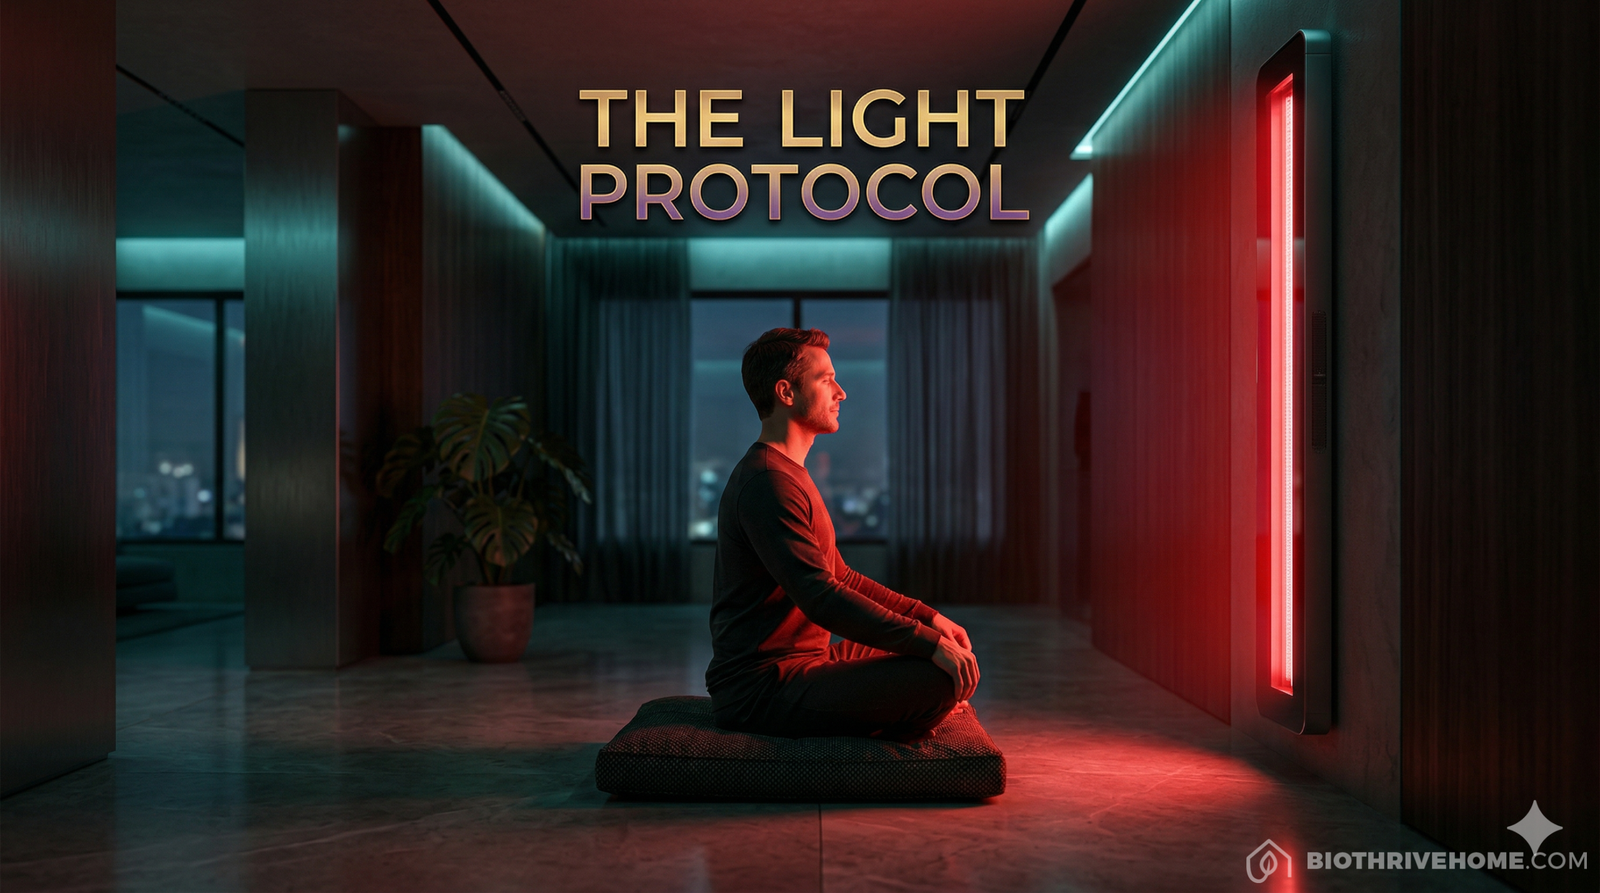
- Meditation and VNS: While standing or sitting in front of your red light panel, utilize those 10 to 15 minutes to engage in a vagus nerve stimulation protocol. By pairing cellular light therapy with controlled, resonant breathing, you force your body into a deep parasympathetic state, multiplying the anti-inflammatory benefits of both practices.
🔴 The Red Light Therapy Masterclass
Don’t miss any part of our definitive guide to cellular photobiomodulation:
- Part 1: The Paradigm: [The Science of Photobiomodulation & Red Light Therapy]
- Part 2: The Protocol: [How to Build a Red Light Therapy Routine at Home]
- Part 3: The Gear: [The Best Clinical-Grade Red Light Therapy Panels (2026)]
Conclusion: Consistency Over Intensity
Red light therapy is not a one-time magic pill; it is a cumulative biological investment. Just as you would not expect to get fit from one workout, you cannot expect to reverse your cellular age with one session. Keep your protocol simple, integrate it seamlessly into your daily environment, and let the compounding effects of optimized light elevate your healthspan.
Now that you know the science and the protocol, what is the best equipment to use? In our final guide of this series, we will review and compare the top clinical-grade red light therapy panels available for your home sanctuary.