Growing your own food is the ultimate biohack for ensuring maximum nutrient bioavailability. However, traditional indoor gardening often becomes a part-time job of measuring pH levels, adjusting lights, and constantly checking water reservoirs. If you miss a day, your entire crop can fail.
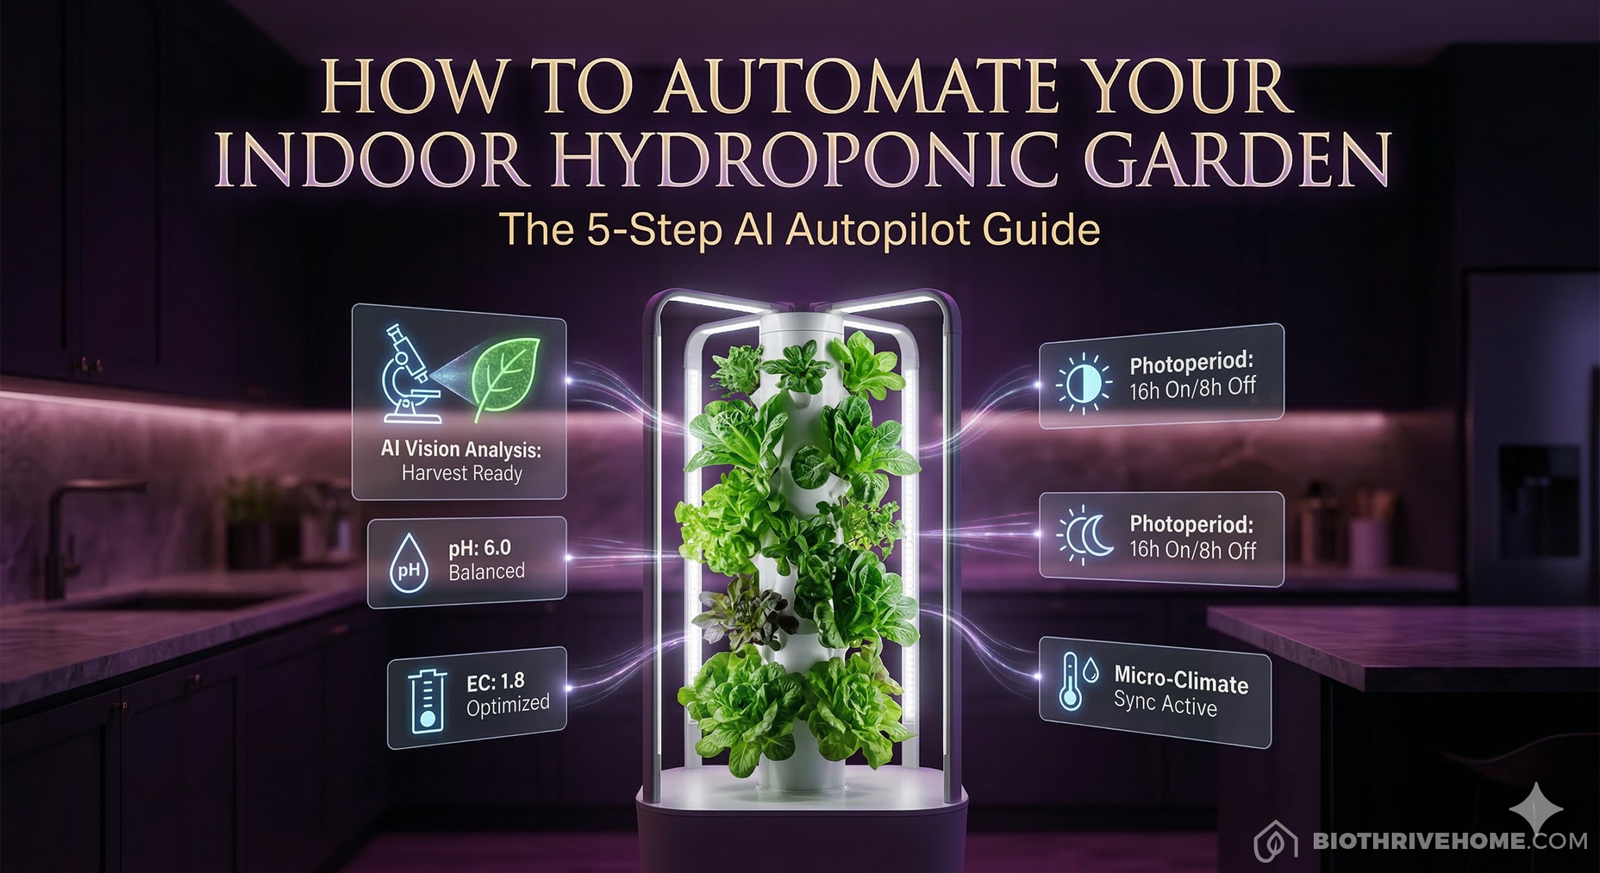
In 2026, the goal is not just to grow food, but to create an autonomous “Kitchen Farm.” By leveraging computer vision, automated dosing, and AI algorithms, you can completely remove human error from the equation. This is your 5-step guide to building a zero-effort, high-yield indoor hydroponic system.
Step 1: Install an AI-Integrated Vertical Tower
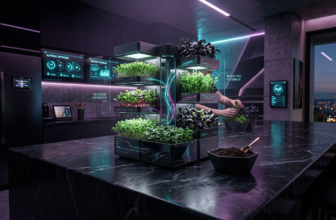
The foundation of an automated garden is the hardware. DIY PVC pipe setups are great for hobbyists, but for a “set-and-forget” system, you need a smart tower.
- How To: Invest in a system like the Gardyn Home Kit 4.0, which we highlighted in The Kitchen Farm: Best AI Indoor Hydroponic Systems of 2026. These premium towers come with built-in high-definition cameras and sensors that feed data directly to an onboard AI. This hardware acts as the central nervous system for your entire micro-farm, eliminating the need to piece together individual sensors.
Step 2: Automate the Photoperiod (Plant Circadian Rhythm)
Just like your sleep cycle requires specific light cues, plants need a strict photoperiod to photosynthesize efficiently without burning out.
- How To: Do not use manual plug timers. Sync your hydroponic system’s full-spectrum LED lights with a smart home hub (like Apple Home or Google Home). Program the lights to mimic the natural sunrise and sunset, adjusting automatically based on the season. During the vegetative stage, the AI should provide 16 hours of light; once the cameras detect flowering or fruiting, it should autonomously drop the light cycle to 12 hours.
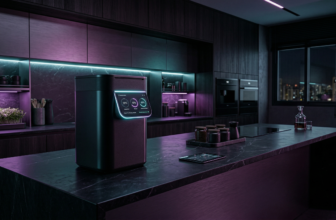
Step 3: Implement Sensor-Driven Nutrient Dosing
Nutrient burn or deficiency is the number one reason indoor crops fail. You need to automate the delivery of water, macronutrients, and pH balancers.
- How To: Advanced systems manage this internally, but if you are upgrading an existing setup, you must install an automated EC (Electrical Conductivity) and pH doser. The sensors continuously read the water reservoir. When the pH drifts above 6.5, or the nutrient concentration drops, the doser automatically injects micro-drops of the exact required solution. For a deep dive into this chemistry, read The Smart Harvest: How to Simplify and Manage Hydroponic Nutrient Levels with AI.
Step 4: Sync Micro-Climate Controls
Temperature and humidity are critical. If your kitchen gets too hot, the water in the reservoir loses dissolved oxygen, suffocating the roots.
- How To: Connect your home’s smart thermostat and a smart humidifier to the hydroponic app’s API. Set a rule: if the ambient temperature around the plants exceeds 75°F (24°C), the AC automatically cools the room, and if humidity drops below 50%, the smart humidifier activates. This creates an impenetrable micro-climate for optimal growth.
Step 5: Leverage AI Vision for the Perfect Harvest
Harvesting at the wrong time means sacrificing up to 40% of the plant’s phytochemicals and antioxidants.
- How To: This is where true AI shines. Systems equipped with computer vision continuously scan the leaf structure and color pigmentation of your plants. Instead of guessing if your kale or tomatoes are ready, the AI sends a push notification to your phone saying, “Harvest your Basil now for peak Vitamin K concentration.” This ensures you are extracting the maximum value from your efforts, a concept we explore fully in Urban Micro-Farming: The Guide to Maximizing Bioavailability in Small Spaces.
Conclusion: Zero-Mile Nutrition on Autopilot
By fully automating your indoor hydroponic garden, you transition from a gardener to a system manager. You eliminate the daily friction of plant care while guaranteeing a continuous, reliable source of hyper-fresh, nutrient-dense greens for your longevity protocol.